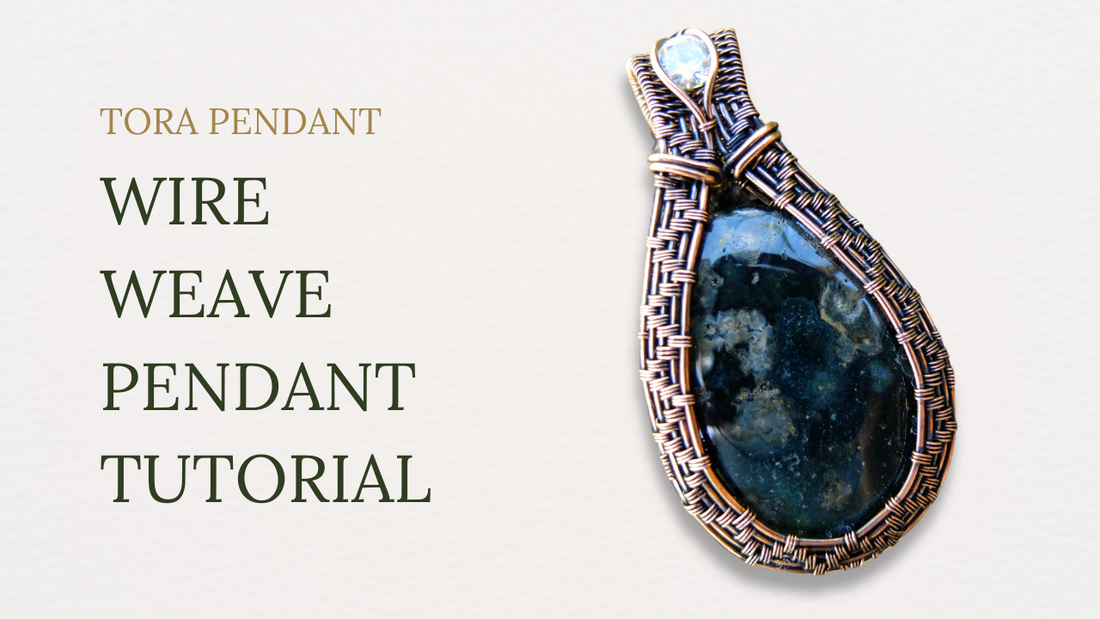
Wire Weave "Tora" Pendant Tutorial: Step-by-Step Guide
By Elizabeth Schultz
Creating your own wire-wrapped jewelry can be incredibly rewarding. Whether you’re a beginner or an experienced jewelry maker, this step-by-step Tora Pendant Tutorial will guide you through the process of making a beautiful, handcrafted pendant. Perfect for showcasing thin stones, this design will teach you the basics of wire weaving, creating a frame, and setting a stone securely. Let’s dive in!
Materials You’ll Need
Before we start, gather the following materials:
- 20 Gauge Wire: Five segments (length to be measured later).
- 28 Gauge Wire: For weaving.
- Stone: Your choice of a teardrop, oval, or round stone. This design works best with thin stones.
- Facet (optional): You can add a facet or a round cabochon to enhance the design.
- Tools: Ruler, blue painter’s tape, Sharpie or any fine-point marker, spring clamp, flush cutters, round-nose pliers, and flat-nose pliers.
Step 1: Prepare Your Stone and Tape
Start by placing a strip of blue painter’s tape along the bottom of your stone. Bring the tape up to the top of the stone, ensuring both sides meet evenly. This step will help you measure and mark the wire precisely.
Use a Sharpie to mark the top of the stone. If you’re using an oval stone, mark just above the stone to create a slight gap at the top, which adds a unique touch to your design. For teardrop stones, mark up to the tip.
Step 2: Mark and Measure the Wire
Using the measurements from the tape, mark your 20 gauge wires to know where to weave. Lay your wires flat and use the Sharpie to mark the ends of each wire segment. This will guide you in determining the weave length.
Step 3: Begin Weaving
Load the wires into your spring clamp, ensuring they’re level. Take your 28 gauge weaving wire and start by wrapping it around the bottom base wire three times. Now, wrap around the bottom two base wires three times, then then two base wire three times. Continue this process, moving up the set of base wires until you’ve wrapped each pair three times.
Once you’ve reached the top base wires, reverse the direction and weave back down in the same pattern. This creates the first triangle in your design. Continue this weave until you reach the marked end on the other side.
Step 4: Shape the Frame
After completing the weave, gently start curving the wire to create the frame for your stone. Flatten and curve the wires patiently to achieve the desired shape. Adjust the wires to ensure the frame is even and symmetrical.
Step 5: Create the Bail
Straighten the wires and separate the innermost ones slightly. These wires will hold the faceted stone (if you’re using one). Wrap the weaving wire around the two wires at the top to secure them together.
Start a figure-eight weave by wrapping the weaving wire around the outermost wire once, then around the next two wires, and continue in this pattern until the bail is long enough. Use your fingers or bail-making pliers to bend the bail in half, ensuring there’s enough room for the stone to sit securely.
Step 6: Weave the Back
Flip the pendant over to start weaving the back. Repeat the triangle weave you did earlier on the front frame. After creating three triangles, separate the wires and continue the weave on the remaining three base wires.
Compress the weaves as you go along to keep them neat and tight. Continue this weave for a few more rotations until you’ve woven enough to start creating decorative swirls.
Step 7: Add Decorative Swirls and Loops
Now, create swirls with the outermost wires using your round-nose pliers. These swirls add an elegant touch to the pendant and also help to secure the stone. On the opposite side, create a loop instead of a swirl for added security.
Step 8: Secure the Focal Stone
Straighten the wires intended for securing the focal stone. Place the stone where you want it and bend the wires over it to hold it in place. This step can be a bit tricky, so take your time to ensure the stone is secure and centered.
If you’re not using a focal stone, continue with a modified soumak weave instead.
Step 9: Secure the Main Stone
Finally, place your main stone in the frame and secure it with the remaining wires. Weave the wires through the frame, creating a figure-eight pattern to hold the stone in place. Ensure the stone is snug and the wires are tightly wrapped to prevent it from moving.
Finish by trimming any excess wire and tucking the ends neatly into the weave.
Conclusion
Congratulations! You’ve completed your Tora Pendant! This handcrafted piece not only showcases your skill but also highlights the beauty of the stone you’ve chosen. Wear it proudly or gift it to someone special, knowing it’s a unique creation made with care. Happy weaving!
- - - - - - - - - - - - - - - - - - - - - - - - - - - - - - - - - - - - - - - - - - - - - - - - - - -
I hope you enjoyed this tutorial and found it helpful in creating your own beautiful jewelry. If you have any questions or want to share your work, don't hesitate to reach out.
Happy weaving!


