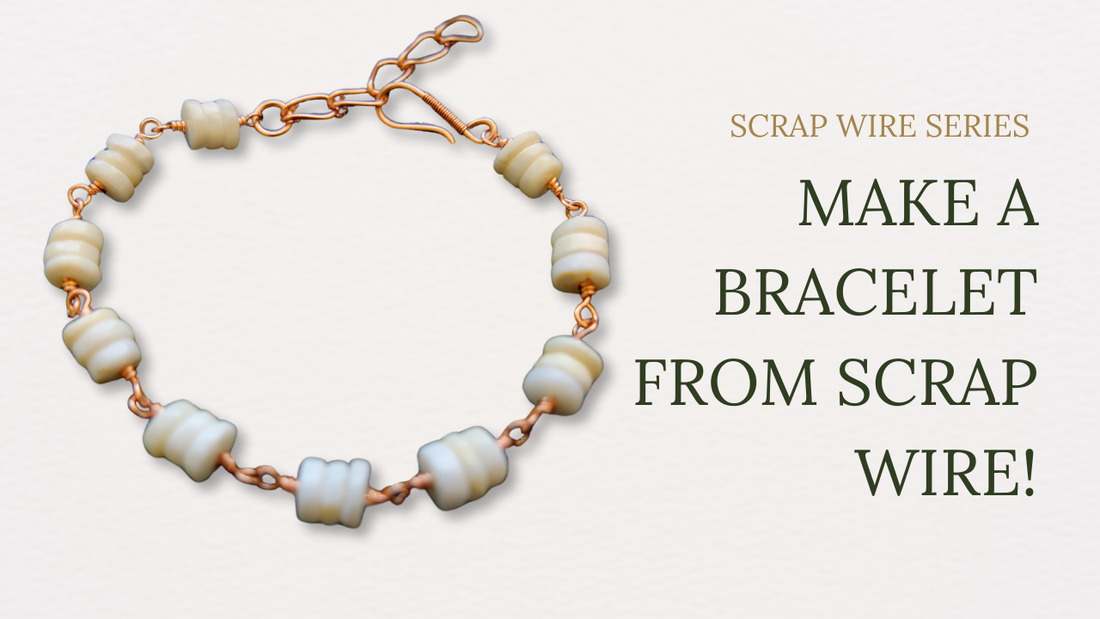
Scrap Wire Series: How to Make a Beaded Link Bracelet from Scrap Wire
By Elizabeth SchultzIf you're anything like me and have been working with wire for some time, you probably have a bunch of scrap wire lying around that you don't know what to do with. Well, good news! Today, I'm kicking off a series to help you find uses for all that scrap wire.
In this tutorial, we'll be making a beaded link bracelet using scrap wire and a few of your favorite beads. This is a great way to use up those bits and pieces that are too short for other projects but too precious to toss away.
Let's dive in!
Tools and Materials You'll Need:
- Chain Nose Pliers
- Round Nose Pliers
- Flush Cutters
- Gauge Card (optional but helpful)
- Safety Glasses (for protection when cutting wire)
- Scrap Wire: 18, 20, and 22 gauge
- Weaving Wire: 26 or 28 gauge
- Your Favorite Beads (I’m using some from Casdans; links will be in the description below)
Step 1: Creating the Clasp
-
Start with 18-Gauge Wire:
- Trim the end of your 18-gauge wire to ensure it's flush. Remember to wear safety glasses or be careful when cutting wire.
- Straighten the wire slightly.
-
Form the Hook:
- Using your round nose pliers, create a gentle bend about a quarter-inch from the end of the wire.
- Continue curving the wire over the pliers to form a small loop just below the hook.
- Trim the excess wire with your flush cutters.
-
Refine the Clasp:
- Use your chain nose pliers to even out the clasp.
- (Optional) File the end of the wire with sandpaper or a sanding pad to smooth any sharp edges.
- You can also wrap some of your scrap weaving wire around the interior of the clasp for added texture. Simply wrap the wire to your desired length, then trim and tuck the end in with your pliers.
Step 2: Creating the Beaded Links
-
Prepare the Wire:
- Take a piece of 22-gauge wire and string on three beads. I’m using coin-shaped beads for this example.
-
Form a Loop:
- Create a small loop about a quarter-inch down the wire using your round nose pliers.
- Hold the loop with your chain nose pliers and wrap the wire around itself three times to secure the loop. Trim off any excess wire.
-
String the Beads and Repeat:
- Slide your beads down to rest inside the loop.
- On the other side of the beads, bend the wire at a right angle using your chain nose pliers, and repeat the loop-making process to match the other side.
-
Connect the Links:
- To add another link, first form a loop on a new piece of wire, then connect it to the first link before completing the loop. This method allows you to continue adding links without the need for jump rings.
- Continue adding links until your bracelet reaches your desired length.
Step 3: Adding the Extender Chain
-
Cut Your Wire:
- Use 20-gauge wire for the extender chain. Cut five 1-inch segments.
-
Create the Links:
- Start by forming a small loop on one end of the wire. Then, create another loop on the opposite end, ensuring both loops face the same direction.
- For each new link, bend one side of the wire, connect it to the previous link, then form the second loop to close the chain.
-
Attach the Extender Chain:
- Once you’ve created the extender chain, attach it to the end of your beaded link chain using a jump ring. If you don’t have a pre-made jump ring, you can easily make one with 18-gauge wire by wrapping it around your round nose pliers and cutting it to size.
Step 4: Assembling the Bracelet
-
Attach the Clasp:
- Attach your handmade clasp to one end of the bracelet using another jump ring.
-
Final Touches:
- Ensure all ends are tucked in securely and that there are no sharp edges. Test the clasp and extender to make sure they work smoothly.
Conclusion:
And there you have it! A beautiful, handmade beaded link bracelet created entirely from scrap wire and a few favorite beads. This project is not only a great way to recycle your scrap materials but also a fun and rewarding way to create something unique and personal.
I hope you found this article helpful. Don't forget to sign up for my Learn to Weave Newsletter for updates on new blogs, tutorials, and more. I also invite you to join our Facebook group, where you can share your work, ask questions, and connect with fellow artisans.
- - - - - - - - - - - - - - - - - - - - - - - - - - - - - - - - - - - - - - - - - - - - - - - - - - -
I hope you enjoyed this article and found it helpful in creating your own beautiful jewelry. If you have any questions or want to share your work, don't hesitate to reach out.
Happy weaving!


