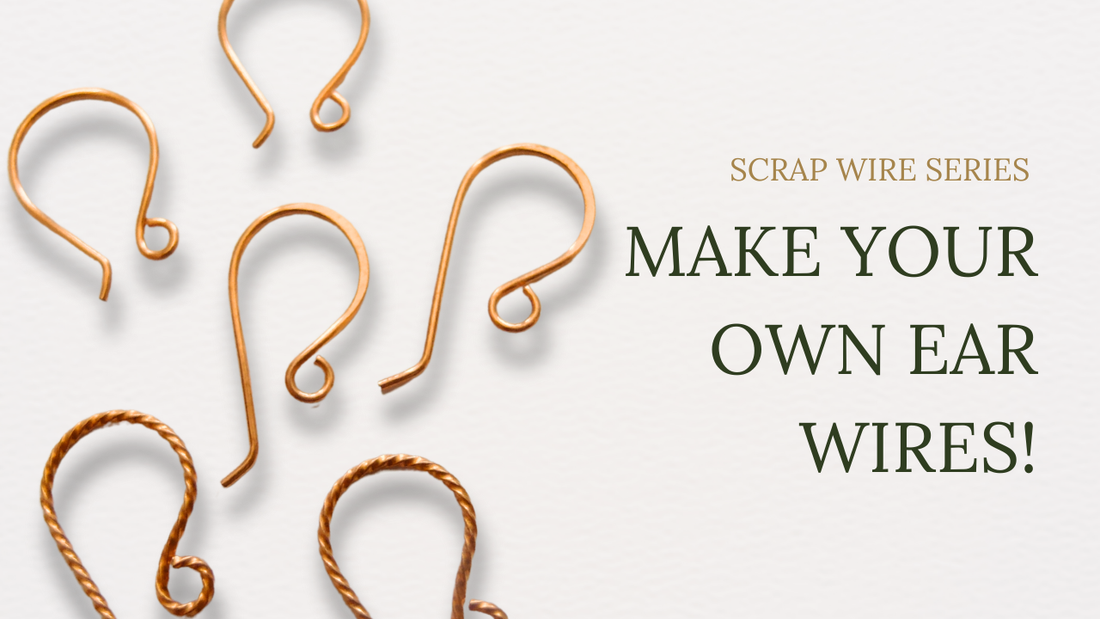
Scrap Wire Series: How to Make 3 Different Ear Wires from Scrap Wire
By Elizabeth SchultzWelcome back to another episode of our Scrap Wire Series! Today, we’re diving into a fun and practical tutorial on how to create three different types of ear wires using scrap wire. This is a fantastic way to use up those leftover pieces of wire and add unique, handcrafted touches to your jewelry projects. We’ll be working with both twisted square wire and plain round wire, incorporating different styles and adding hammered elements for a bit of flair.
Let’s get started with our ear wire tutorial!
Materials You’ll Need:
- 20 gauge square or round wire (scrap pieces around 2" long)
- Ruler
- Flush cutters
- Round nose pliers
- Mandrel (or bail-making pliers, dowel, or pencil)
- Chain nose pliers
- Chasing hammer and anvil (optional)
- Cup bur or file
Step 1: Preparing Your Wire
First, we’ll need to sort through our scrap wire. For ear wires, I recommend using 20 gauge, 21 gauge, or occasionally 18 gauge wire. Today, I’m using 20 gauge wire, which is sturdy yet flexible enough for ear wires.
Start by cutting a few pieces of wire to about 2.5 inches each. Make sure the ends are flush by trimming them with your flush cutters. This will give you a clean start for shaping the wire.
Step 2: Making a Simple C-Hook Ear Wire
Materials: 20 gauge round wire
-
Form the Loop: Take one piece of round wire and use your round nose pliers to create a small loop at one end.
-
Shape the Wire: Next, grab your mandrel (or bail-making pliers, dowel, or pencil) and wrap the wire around the largest part to form the curve of the ear wire. This creates the C-hook shape.
-
Finish the Hook: Use your round nose pliers to bend the wire slightly outward, just below the loop. Trim the excess wire, making sure both ear wires are the same size by comparing them side by side.
-
Smooth the Ends: Use a cup burr or file to smooth out the ends of the ear wires. This ensures they’re comfortable to wear and won’t irritate the skin.
Your simple C-hook ear wires are now complete! These are reliable, comfortable, and perfect for everyday wear.
Step 3: Creating a Hammered Ear Wire
Materials: 20 gauge round wire
-
Straighten the Wire: Start by straightening with your fingers or rolling it underneath a rubber bench block.
-
Form the Loop: As with the first ear wire, create a small loop at one end using your round nose pliers.
-
Shape the Wire: Use your mandrel to form a more delicate curve, leaving a bit more length than the previous C-hook ear wires.
-
Hammer the Wire: Place the curved part of the wire on your anvil. Using a chasing hammer, gently hammer the outer curve to add dimension. Drag the hammer as you strike to spread the wire slightly, creating a flat, textured surface.
-
Finish and Harden the Wire: Smooth the ends with a cup burr or file. To harden the wire further, use a nylon or rubber mallet to hammer along the entire length of the wire.
You now have a pair of beautifully hammered ear wires with added dimension and texture!
Step 4: Crafting Twisted Square Wire Ear Wires
Materials: 20 gauge square wire
-
Twist the Wire: Grab a piece of square wire and secure one end in a pin vise. Hold the other end with your chain nose pliers and twist the wire using the pin vise. This not only adds a decorative element but also hardens the wire, making it sturdier.
-
Form the Loop: Create a small loop at one end of the twisted wire with your round nose pliers.
-
Shape the Wire: Use your mandrel to form the curve of the ear wire, similar to the previous steps.
-
Final Adjustments: If the wire twists during shaping, don’t worry! Simply adjust it back into place with your pliers. Trim the excess wire, smooth the ends with a cup burr or file, and your twisted square wire ear wires are ready.
These decorative twisted ear wires are perfect for adding a bit of uniqueness to your jewelry pieces!
Conclusion
You’ve now created three different types of ear wires using scrap wire: simple C-hook ear wires, hammered ear wires, and twisted square wire ear wires. Each style offers a unique look and feel, allowing you to customize your jewelry creations even further.
I hope that this article was helpful. If you'd like to stay up to date on tutorials, videos and more, sign up for the Learn to Weave Newsletter! You're also invited to join the Facebook group where you can interact with fellow artisans like yourself!
- - - - - - - - - - - - - - - - - - - - - - - - - - - - - - - - - - - - - - - - - - - - - - - - - - -
I hope you enjoyed this article and found it helpful in creating your own beautiful jewelry. If you have any questions or want to share your work, don't hesitate to reach out.
Happy weaving!


