How to Start Making Wire Jewelry At Home (Even With Limited Space!)
By Elizabeth SchultzWhen I first started, I didn't exactly have a dedicate "space" to create my jewelry. As a matter of fact, I actually started with a lap desk and would often craft on my couch. (It was sure comfy, but not so much when I sat on those wire stragglers later!)
The truth is that you don't need very much space to start creating your own jewelry pieces. All you need are a handful of tools and materials and a small area to dedicate to storing them. It could be a cupboard, drawer, tote or a small table.
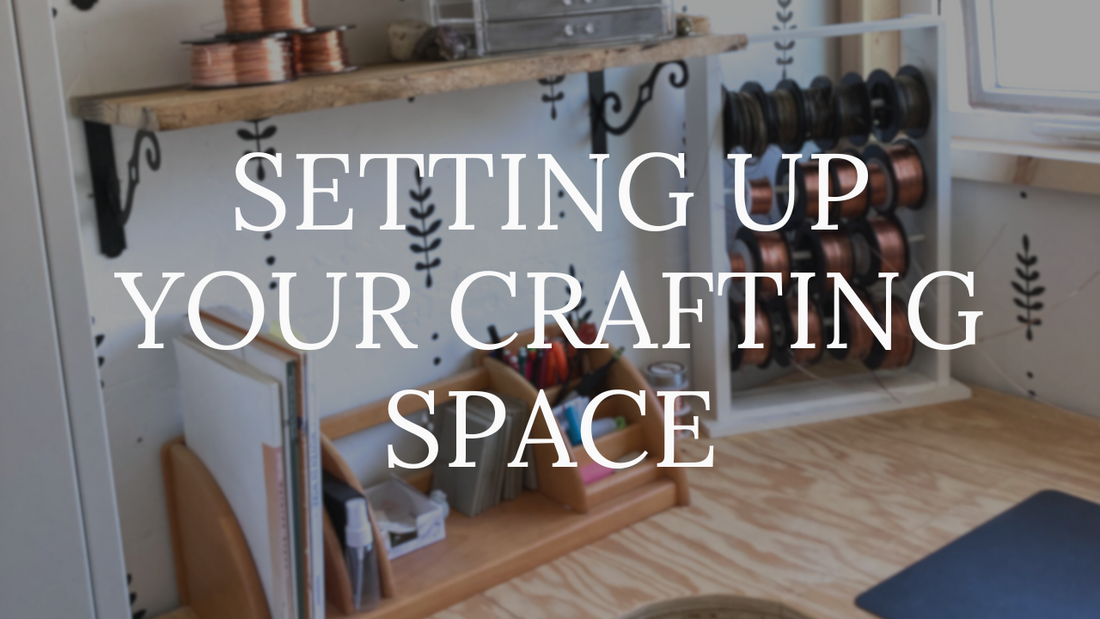
In this article, I'm going to share some things that helped me set up my own little workspace and how it can fit practically anywhere in your home.
But before we get started, here's a quick overview of the tools and materials you'll need.

Essential Tools for Wire Jewelry Making...
When you're just starting out, you only need a few basic tools:
- Chain Nose Pliers - Perfect for gripping and bending wire.
- Round Nose Pliers - Essential for making loops and curves.
- Flush Cutters - For clean wire cuts without sharp edges.
- Ruler - To measure your wire accurately.
- Permanent Marker - For marking measurements on your wire and tape.
- (Optional) Ring or Spring Clamp - Helpful for holding wire together.
- (Optional) Painter's Tape - Also great for holding wires together.
Pro tip: You can often find complete sets of jewelry pliers that include everything you need to get started! Here's a link to the set I first started with and loved! It's inexpensive while still being a great quality.
You can also find a more detailed article on tools here.

Basic Materials to Begin With...
Your creative journey really starts with just a couple of essential things:
- Wire - (Different gauges and shapes work for different projects - more on that in this video!)
- Beads and Stones - Start small and expand your collection as you go. (I love all the stones I've gotten from Casdans!)

Smart Storage Solutions for Small Spaces...
Keeping your materials organized makes the creative process so much more enjoyable:
- Drawer Jewelry Boxes - Perfect for keeping stones and beads visible and accessible
- Storage Boxes from Dollar Tree - Budget-friendly options for larger items (I found them in the "hardware" section of my local store).
- Ribbon Holder - An ingenious way to store various wire spools
- Tool Holder - Keeps your pliers and cutters within easy reach
- Tote Bag - I really love this one! But pick out what works best for you.
Don't forget to check out your local thrift store for all kinds of inexpensive storage options!
The Amount of Space You Need? It's Smaller Than You Think...
The amount of room you actually need is about 4 square feet. Just enough to wrap and weave wire and effectively use your pliers. That could be a corner of your dining table, a TV tray, or even that lap desk I started with!
As time goes on and you add more tools, materials, and techniques to your repertoire, you can expand into another room and create a more dedicated space for crafting.

As an example, my current setup is still a small area, no more than 35 square feet, but it provides plenty of space to store my equipment and create new jewelry pieces, (and hoard more stones...)
Remember, the most important thing isn't having the perfect studio—it's making time for creativity. So clear off that small corner, gather your tools, and start creating beautiful wire jewelry so you can start sharing your gift with the world!
I hope you enjoyed this article and found it helpful in creating your own beautiful jewelry. If you have any questions or want to share your work, don't hesitate to reach out.
Happy weaving!


1 comment
I am SO grateful for you! I appreciate you and the way you help us learn 🙏🏻💝