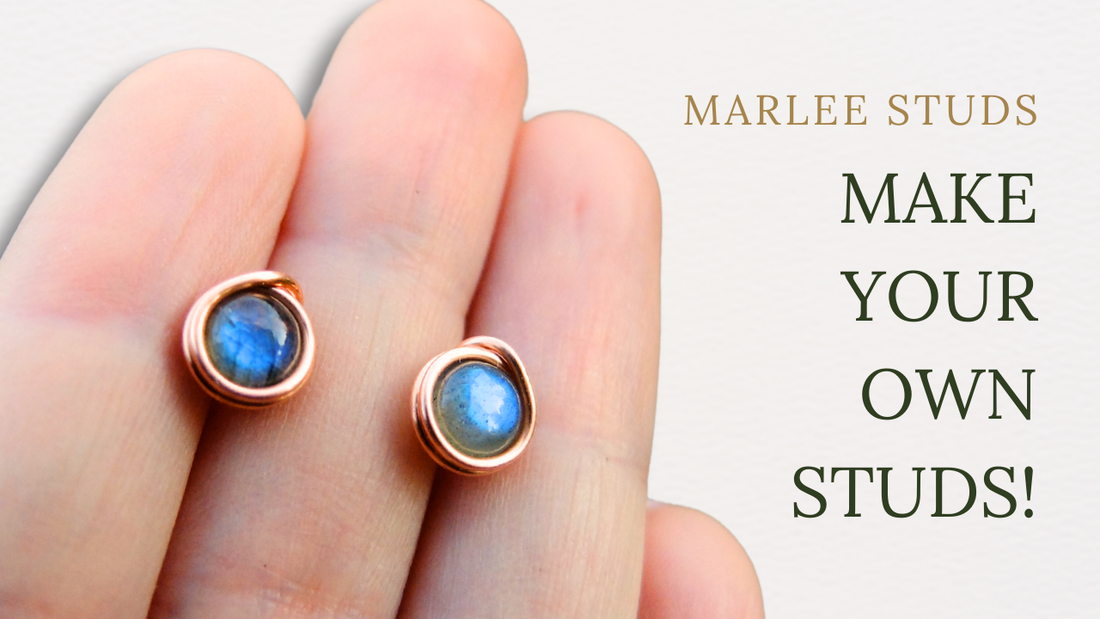
"Marlee" DIY Wire Stud Earrings: Step-by-Step Guide
By Elizabeth SchultzWelcome to the Marlee DIY Stud Earring tutorial! Today, I'll guide you through creating beautiful wire stud earrings using just a few tools and materials. These earrings will showcase your creativity and skill with wire, resulting in a stylish and unique pair of studs that you can wear or gift to someone special. Let's dive in!
Tools and Materials
Before we start, gather the following tools and materials:
- 20-gauge wire: Two segments, each about 5 inches long.
- 6mm round cabochons: These will be the focal point of your earrings.
- Round nose pliers
- Chain nose pliers
- Flush cutters
- Ruler
- Optional: File or cup bur for smoothing the ends of the wire.
Step 1: Preparing the Wire
-
Cutting the Wire: Begin by cutting two segments of 20-gauge wire, each about 5 inches long. This will give you enough wire to work with for both earrings.
-
Creating the Post: Take one segment of wire and use your chain nose pliers to grip the end. Shape this end into a 90° angle. This will serve as the post for your stud earring. Trim any excess wire as needed.
Step 2: Shaping the Swirl
-
Forming the Swirl: With the wire at a 90° angle, use your round nose pliers to start creating a swirl. Begin by slowly curving the wire around to form a decorative base for your gemstone.
-
Adjusting the Swirl: As you shape the swirl, you can use your chain nose pliers or flat nose pliers to help guide the wire into place. Aim to create a small platform that will hold the cabochon securely.
Step 3: Setting the Cabochon
-
Placing the Stone: Position the cabochon on the swirl base you’ve just created. The wire should encircle the stone, creating a snug fit.
-
Wrapping the Stone: Begin wrapping the wire around the gemstone, securing it in place. Continue wrapping until the stone is well-secured. Ensure that the wire wraps around the top of the stone for stability.
-
Securing the Wire: Once you're satisfied with the wrapping, direct the excess wire towards the back of the stud post. Wrap the wire around the post to secure it. Trim any extra wire using your flush cutters and tuck in the ends for a clean finish.
Step 4: Finishing Touches
-
Trimming the Post: Now that your stud earring is assembled, use a ruler to measure the length of the post. Trim the post to a little over a quarter inch (approximately 38mm) using your flush cutters.
-
Smoothing the Ends: To avoid any sharp edges, smooth the ends of the wire. You can use a cup bur, which is a quick tool for this job. Simply insert the end of the post into the cup bur and rotate it in one direction. Alternatively, you can use a file to lightly file down the ends.
-
Repeat: Follow the same steps for the second segment of wire to create your matching earring.
Final Touch
Congratulations! You now have a pair of handmade wire stud earrings. These earrings are not only stylish but also a testament to your craftsmanship. Feel free to experiment with different gemstones and wire designs to create custom pieces that reflect your own unique style.
Stay Connected
If you enjoyed this tutorial and want to stay updated with more DIY jewelry tips and techniques, consider joining the Facebook group where you can share your work and connect with fellow artisans. Don’t forget to subscribe to our Learn to Weave Newsletter for weekly updates on new tutorials, blog content, and behind-the-scenes insights.
- - - - - - - - - - - - - - - - - - - - - - - - - - - - - - - - - - - - - - - - - - - - - - - - - - -
I hope you enjoyed this article and found it helpful in creating your own beautiful jewelry. If you have any questions or want to share your work, don't hesitate to reach out.
Happy weaving!


