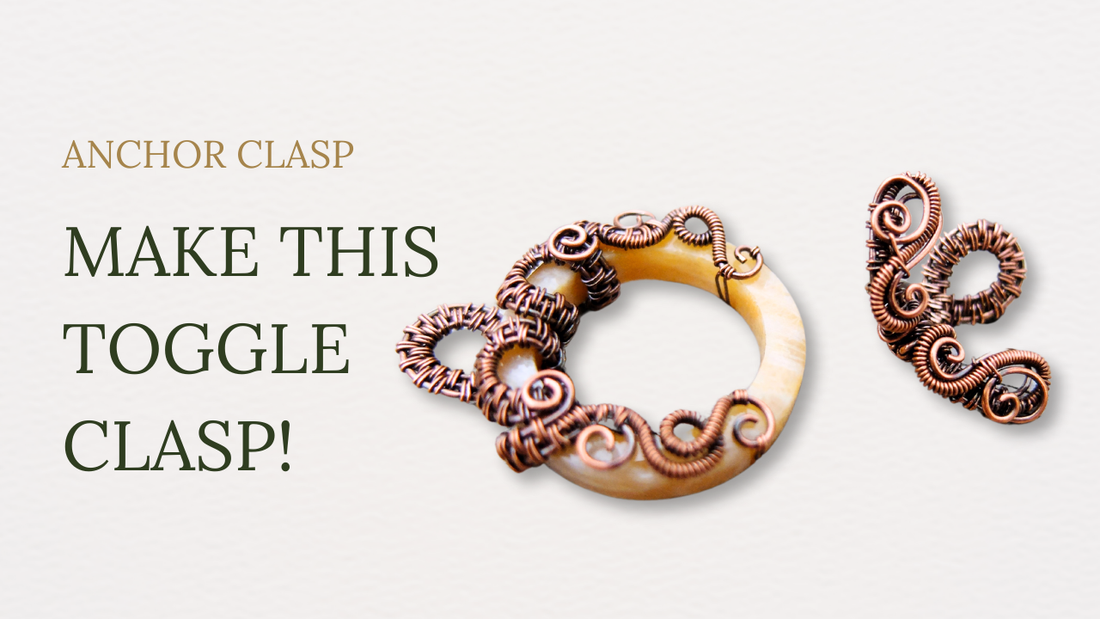
"Anchor" Gemstone Toggle Clasp Tutorial: Step-by-Step Guide
By Elizabeth SchultzCreating an anchor toggle clasp is a rewarding and intricate process that adds a personal touch to your handcrafted jewelry. This tutorial will walk you through each step, ensuring you achieve a stunning and functional clasp for your designs. Let’s get started!
Tools and Materials You’ll Need:
- Tools: Chain nose pliers, round nose pliers, flush cutters, ruler, Sharpie, and optionally, flat nose pliers.
-
Materials:
- (x3) 7-inch segments of 22-gauge wire
- (x3) 10-inch segments of 22-gauge wire
- 28-gauge weaving wire
- One donut/washer shaped stone
Step 1: Preparing for the Initial Weave
Start by finding the center of your 10-inch segments of 22-gauge wire using your ruler. Mark half an inch on either side of the center (at 5 inches) with your Sharpie to define a 1-inch section for weaving.
Once marked, load the wires into a spring clamp. If you don’t have a spring clamp, you can use a ring clamp, a piece of tape, or even hold them manually.
Step 2: Starting the Weave
Thread your 28-gauge weaving wire through the wires, wrapping it around the bottom base wire three times to secure it. Now, begin a 2-2 weave by wrapping the weaving wire around the bottom two base wires twice. Next, bring the weaving wire between the bottom and top base wires and wrap it around the top two wires twice. Continue this 2-2 weave until you reach the Sharpie mark on the opposite side.
Step 3: Shaping the Clasp
Once your weave reaches the mark, it’s time to start shaping the clasp. Bend the wires to create a small teardrop loop, ensuring the wires align symmetrically. Weave the wires together using the 2-2 weave to secure the loop in place. For added strength, use a Lashing weave, alternating between wrapping around individual wires and pairs of wires.
Step 4: Preparing the Weave
Flip the piece over and continue the 2-2 weave on both sides of the teardrop loop for about an inch. When finished, cut a long tail about 18 inches from your weaving wire and repeat the process on the opposite side, ensuring both sides match in length and pattern.
Step 5: Adding the O-ring Stone
With the weaving completed, flip the piece back over and thread the wire through the O-Ring stone. Secure the stone by curving the wires around it and using flat nose pliers to maintain a flat weave. Weave an additional quarter to half an inch on each side, securing the stone firmly in place.
Step 6: Finishing Touches
Secure the weave by wrapping the weaving wire through the loops on the back of the clasp and tucking the ends neatly. Trim the innermost wires and create decorative curls or swirls using round nose pliers. These add a final touch of elegance to the clasp.
Step 7: Creating the Toggle Bar
To create the toggle bar that will secure the clasp:
- Take your 7-inch segments of 22-gauge wire and find the center, marking an inch and a half section for weaving.
- Start the 2-2 weave as before, continuing until you reach the other Sharpie mark.
- Once woven, shape the toggle bar by forming small loops at both ends and adjusting the length to fit the clasp securely.
- Add decorative swirls and coils to the ends of the toggle bar for a cohesive and polished look.
Step 8: Assembly and Final Adjustments
Once both parts of the clasp are complete, assemble them to ensure the toggle bar fits securely through the loop. Make any final adjustments to the size and shape as needed. If desired, add beads or additional woven links to enhance the design.
Conclusion and Next Steps
Congratulations! You’ve successfully created a beautiful anchor toggle clasp. This piece not only serves a functional purpose but also adds an artistic flair to your jewelry.
If you have any questions or need further assistance, feel free to send a message through the contact form. Don’t forget to sign up for my Learn to Weave Newsletter to stay updated on new tutorials and join the Facebook group to connect with other artisans.
Happy weaving!
- - - - - - - - - - - - - - - - - - - - - - - - - - - - - - - - - - - - - - - - - - - - - - - - - - -
I hope you enjoyed this article and found it helpful in creating your own beautiful jewelry. If you have any questions or want to share your work, don't hesitate to reach out.
Happy weaving!


